- Guide
- No Comment
Image Metadata Explained: What It Is and How to Check It

The graphics or visuals of an image convey its main idea. But the real information of a picture isn’t visible at all. It lies inside each file in the form of metadata.
But what exactly is that? How to view such information? If you want to find this out, stick here till the end.
In this guide, we’ll answer the what, why, and how parts of an image’s metadata. From its definition and importance to the various methods of checking this hidden piece of information, we’ll cover everything here.
So, without any further ado, let’s delve into this discussion.
What Is Image Metadata? — Definition
You’ll better understand the concept or definition of image metadata if you know the literal meaning of the term ‘metadata.’ So, metadata literally means the data about data. This means that it’s a piece of information that describes some other information.
Now, if we combine the literal meaning with the context of photography, you’ll understand that metadata is the piece of information that is beyond the visible pixels of a picture.
So, it refers to the details embedded in an image file.
A Deeper Dive Into Picture Metadata
Although the literal meaning of ‘metadata’ makes the definition of ‘photo metadata’ seem self-explanatory, it doesn’t tell the whole story. This is due to the fact that ‘picture metadata’ often contains a variety of information, which further classifies this concept into the following categories:
-
EXIF
EXchangeable Image File format that contains camera details, such as the following:
- Aperture.
- ISO.
- GPS location.
- Lens type.
- Shutter.
- Speed.
Digital cameras and smartphones automatically generate this form of information. And when they do, it looks something like this:
Photo taken at 1/250 sec, f/2.8, ISO 400, with a Canon EOS 80D.
-
IPTC
International Press Telecommunication Council highlights the administrative and descriptive details, such as the following:
- Author.
- Caption.
- Copyright.
- Keywords.
The following statement is an excellent example of IPTC metadata:
Caption: “Sunset over the Eiffel Tower” — Photographer: Jane Doe.
As it is obvious, photographers and creators add such details manually, often through editing software.
-
XMP
EXtensible Metadata Platform, which is Adobe’s format for storing descriptive information and editing history. So, this type can include IPTC-style fields and the details about editing conducted through Adobe Lightroom or Photoshop. The following statement is an excellent example of XMP metadata:
Edited in Photoshop — exposure +0.5, contrast +10.
How to Check the Image Metadata? — 4 Different Techniques
By now, you may have understood the whole concept. If so, let’s now get to the ‘how’ part of this blog guide. So, if you really want to check the image metadata of any photograph, you can rely on these techniques:
Method # 1: Using the Built-in Options
The file (explorer) viewer and photos (gallery) application of every operating system have built-in options that allow you to view basic metadata. So, if you want a quick and easy way, use the following steps to implement this method:
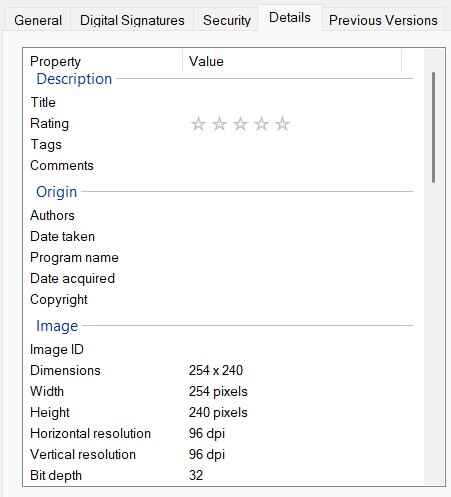
Steps for the Windows File Explorer
1. First, locate your desired photo in the file explorer (viewer).
2. Then, navigate to its properties by right-clicking on it.
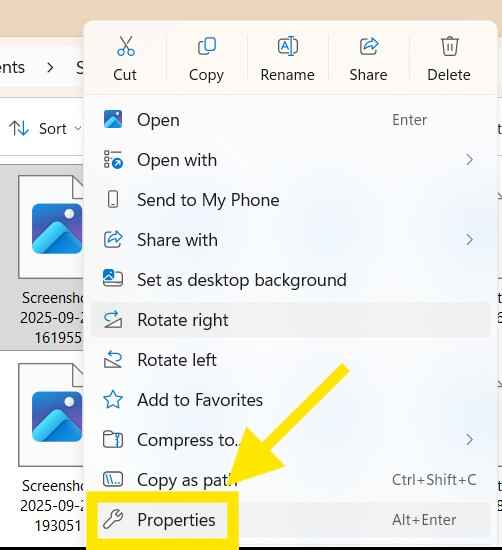
3. From there, go to the ‘Details’ tab and under the ‘Image’ section, you’ll find your file’s basic metadata.
Note: We’ve performed these steps on Windows. But you can use the same procedure and options in most operating systems, be it Android, iOS, or macOS.
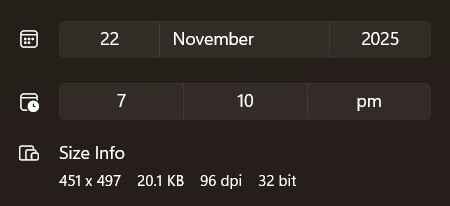
Steps for the Photos or Gallery App (On Most Operating Systems)
- Open the picture in your system’s Photos app.
- Then, open its file info by clicking the ‘ⓘ’ icon.
- Afterward, you’ll see the basic metadata in the following way:
Steps for the Preview App on macOS
- Open the image in the ‘Preview’ app by double-clicking on it.
- Then, navigate to the following ‘Tools’ < ‘Show Inspector’ path.
- Next, click the ‘i’ tab and you’ll find the ‘EXIF,’ ‘IPTC,’ and ‘GPS’ sub-tabs.
- Open them to view the desired details for your chosen photograph.
Method # 2: Through Windows PowerShell
Everyone knows that Windows has a built-in command line program called ‘Command Prompt.’ But it also has an advanced version, which goes by the name of ‘Windows PowerShell.’ So, if the first approach fails to showcase advanced details, you can try this one on your Windows system. This is how:
1. First of all, open ‘PowerShell’ on your system.
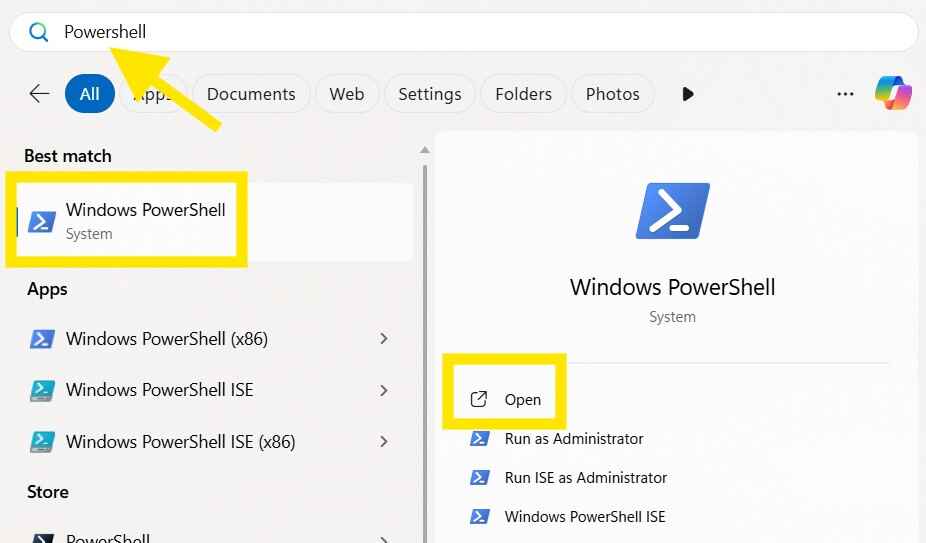
2. Then, run the following command to view the basic file properties:
Get-Item “C:\path\to\image.jpg” | Select-Object Name,Length,CreationTime,LastWriteTime
3. However, if you want to view the EXIF metadata, you can do it in the following way:
Get-ItemProperty “C:\path\to\image.jpg”
Note: Replace ‘image.jpg’ with your file’s name and ‘C:\path’ with the location of your picture.
4. From there, you can read the output and inspect the size or timestamps.
This method may not display some EXIF details. So, if you want full EXIF metadata, try the next technique.
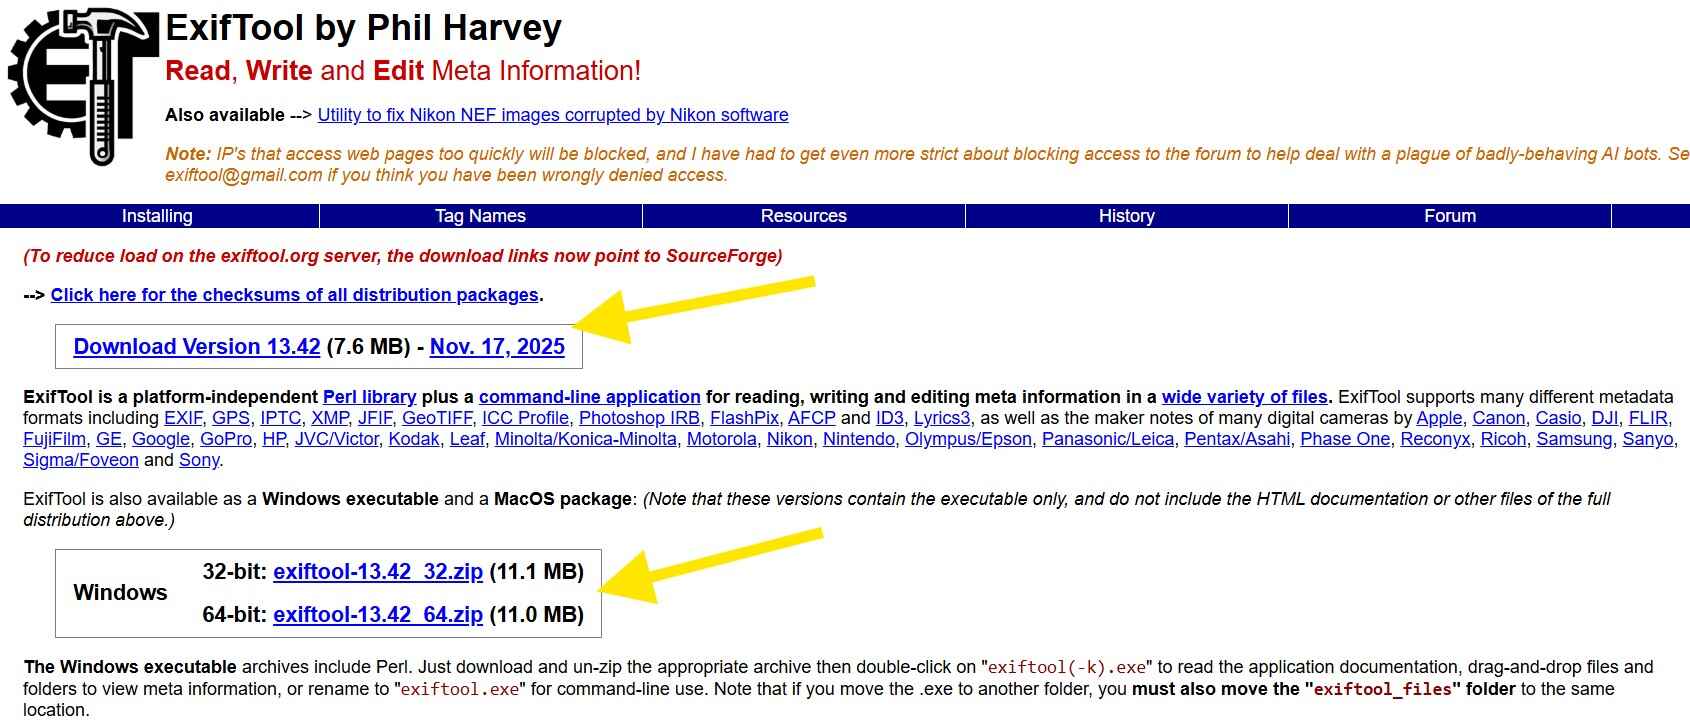
Method # 3: Using ExifTool
ExifTool is a free software utility that lets you view and edit metadata for a variety of file types. Since it is an open-source program, you can use it through your operating system’s command-line tool.
Here is how you can do that:
Steps for the Command Prompt or Windows PowerShell
1. First of all, download and install the standalone executable file of ExifTool.
2. Once the installation is complete, open ‘Command Prompt’ or ‘Windows PowerShell’ on your system.
3. Then, run the following command:
exiftool “C:\path\to\image.jpg”
Hint: Replace ‘image.jpg’ with your file name and ‘C:\path’ with the location of your photograph.
Steps for the Terminal on macOS
1. Like Windows, you first need to manually download the ExifTool from the official website.
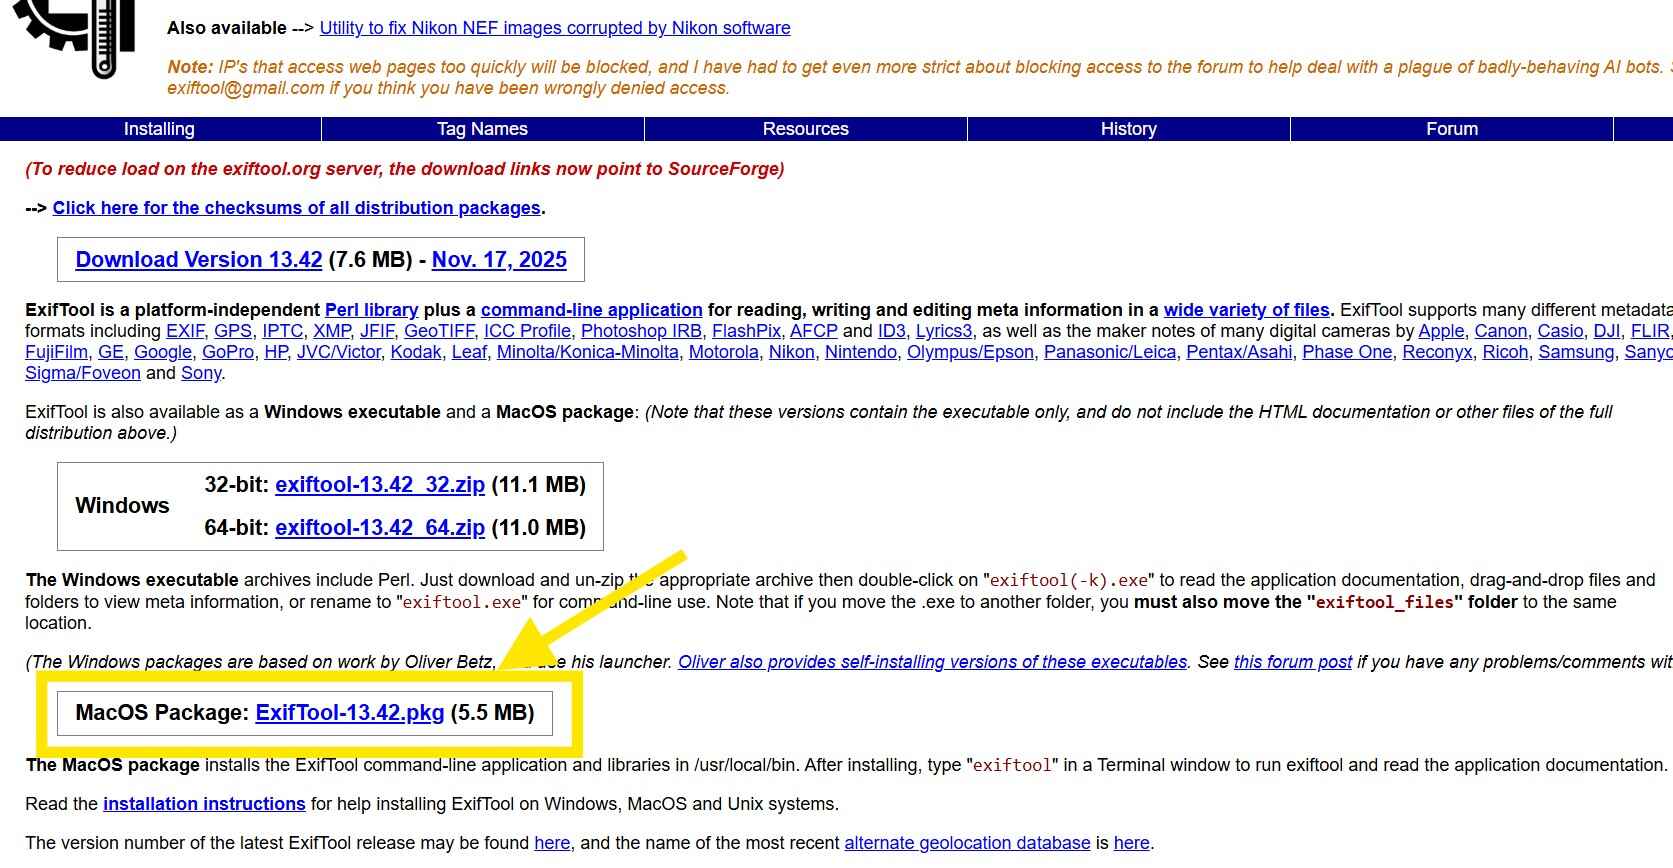
Pro Tip: If you don’t want to manually download and install the ExifTool package on your macOS system, you can use the ‘Homebrew’ package manager. But you will have to first install this as well from the official website.
2. (Optional) Since we have already installed Homebrew and don’t want to manually install ExifTool, we first run the following command in the ‘Terminal’ window:
brew install exiftool
3. After that, you can execute the following command:
exiftool “/path/to/image.jpg”
Hint: Replace ‘image.jpg’ with your file name and ‘path’ with the location of your picture.
Optional Method: Using Third-Party Software
Third-party software, such as Adobe Lightroom, Photoshop, and even dedicated online metadata viewers, offers the same functionality as well. But you will have to add or upload your image to them, which we don’t recommend at all. Why?
Simply because metadata contains sensitive information, such as device IDs and GPS locations, which can reveal further personal details. So, we don’t trust any third-party software with our files, and neither should you. And that’s exactly why we haven’t shared that method here.
Why Is Metadata Important? — The Need for Checking It!
Now the main question is, why would anyone use any of the aforementioned methods to check image metadata? Well, its answer lies in one of the following reasons:
- Journalists and people from the legal sectors often use metadata as evidence because it helps them verify when and where a photograph was originally taken.
- Photographers use the picture metadata to manage their images effectively.
- Web masters rely on metadata details to determine whether their pictures align with the technical requirements of the web or not.
- Content creators use metadata to store hidden copyright information before exposing their work (photos) to the depths of the internet.
Final Verdict — Concluding Remarks
All in all, image metadata may be invisible to the eye, but it plays a critical role in how photos are stored, organized, and even interpreted across different platforms. So, whether you’re concerned about privacy, managing digital files, or understanding the technical details behind your pictures, knowing how to check this hidden information gives you more control over your data. By using built-in system tools, PowerShell commands, or advanced utilities like ExifTool, you can easily uncover what’s stored inside any photograph. And once you understand these details, you’re better equipped to protect your privacy, verify authenticity, and manage your pictures more intelligently.
Alan Mike is a seasoned website content writer specializing in SEO-friendly, engaging content. With expertise in various industries, Mike creates clear, informative, and compelling copy to boost user engagement and drive organic traffic for clients.